") Turkey (Türkçe)
Turkey (Türkçe)") Germany (German)
Germany (German)") Worldwide (English)
Worldwide (English)


How to Create a Cloudflare Account: Step-by-Step Guide
If you want to speed up your website and enhance its security, Cloudflare is an excellent choice. Cloudflare is a content delivery network (CDN) and DDoS protection service that protects and accelerates your website. In this guide, we will walk you through the steps to create a Cloudflare account and add your site to Cloudflare.
1. Visit the Cloudflare Website
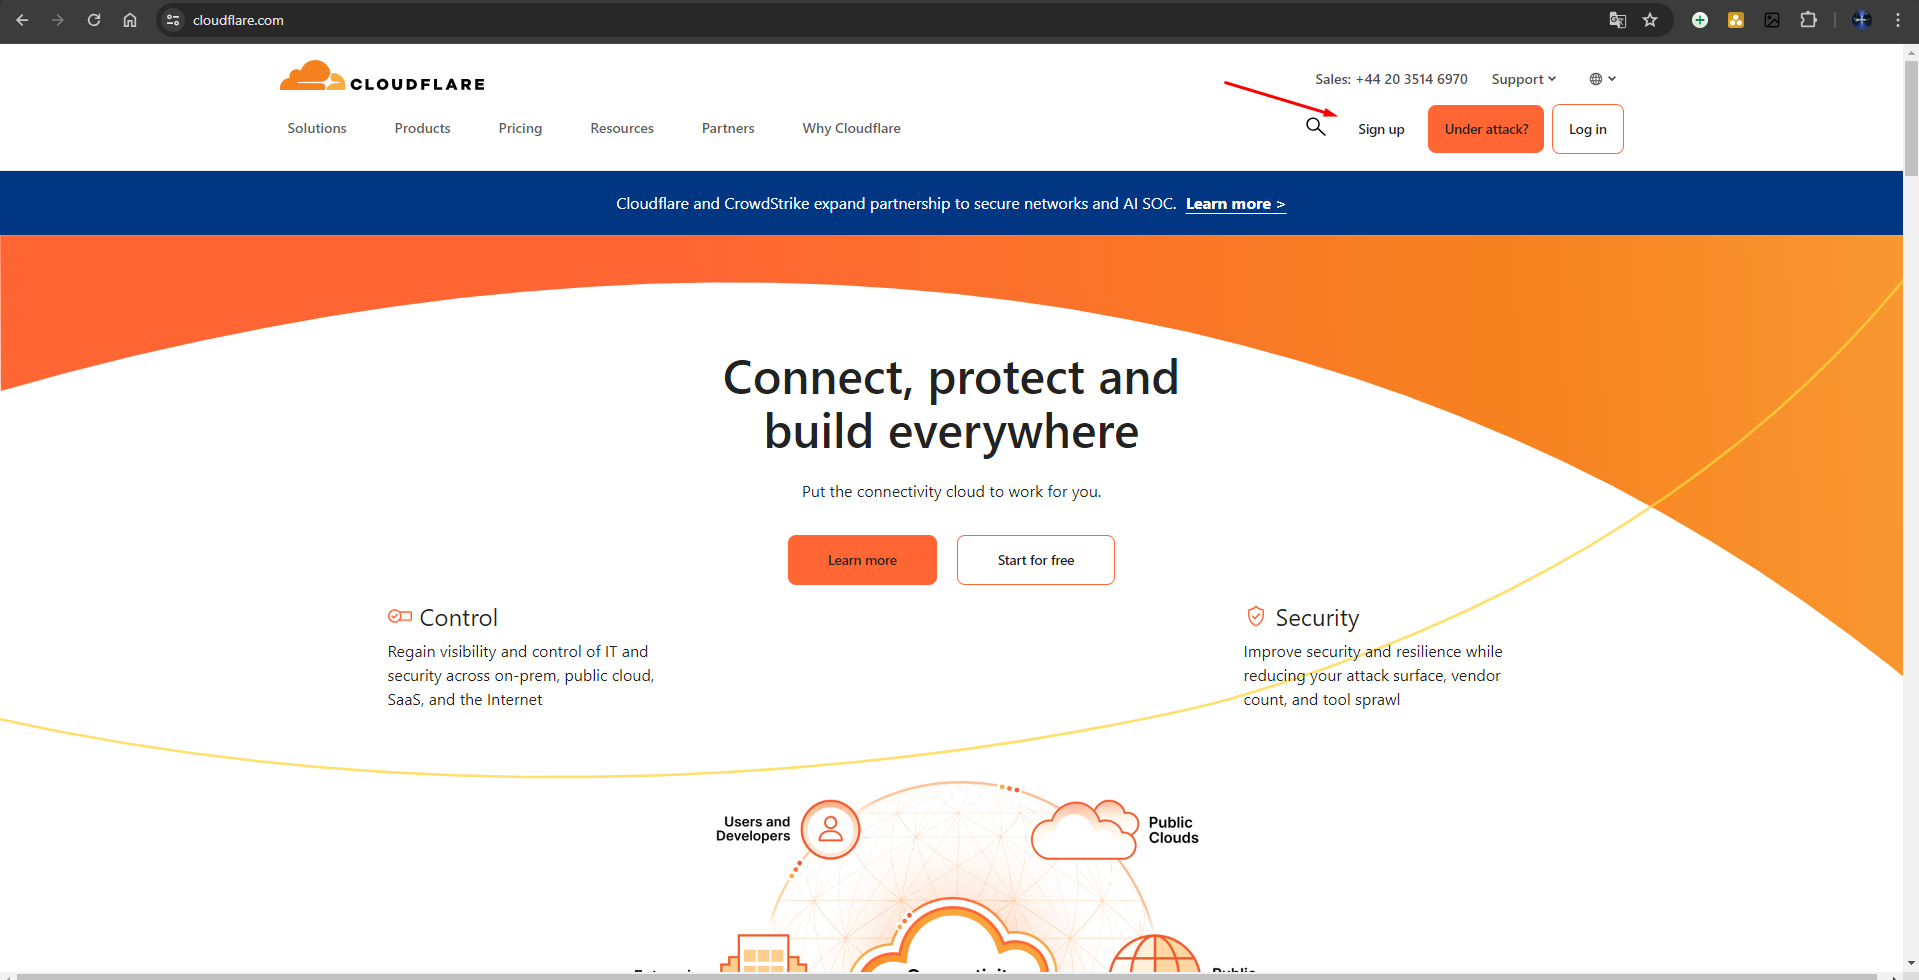
The first step is to visit Cloudflare’s official website. Open your browser and go to www.cloudflare.com.
2. Sign Up for a Free Account
On the Cloudflare homepage, click on the "Sign Up" button located at the top right corner.
3. Fill Out the Registration Form
On the registration page, you will be asked to provide some basic information:
- Email Address: Enter a valid email address.
- Password: Create a strong password and enter it.
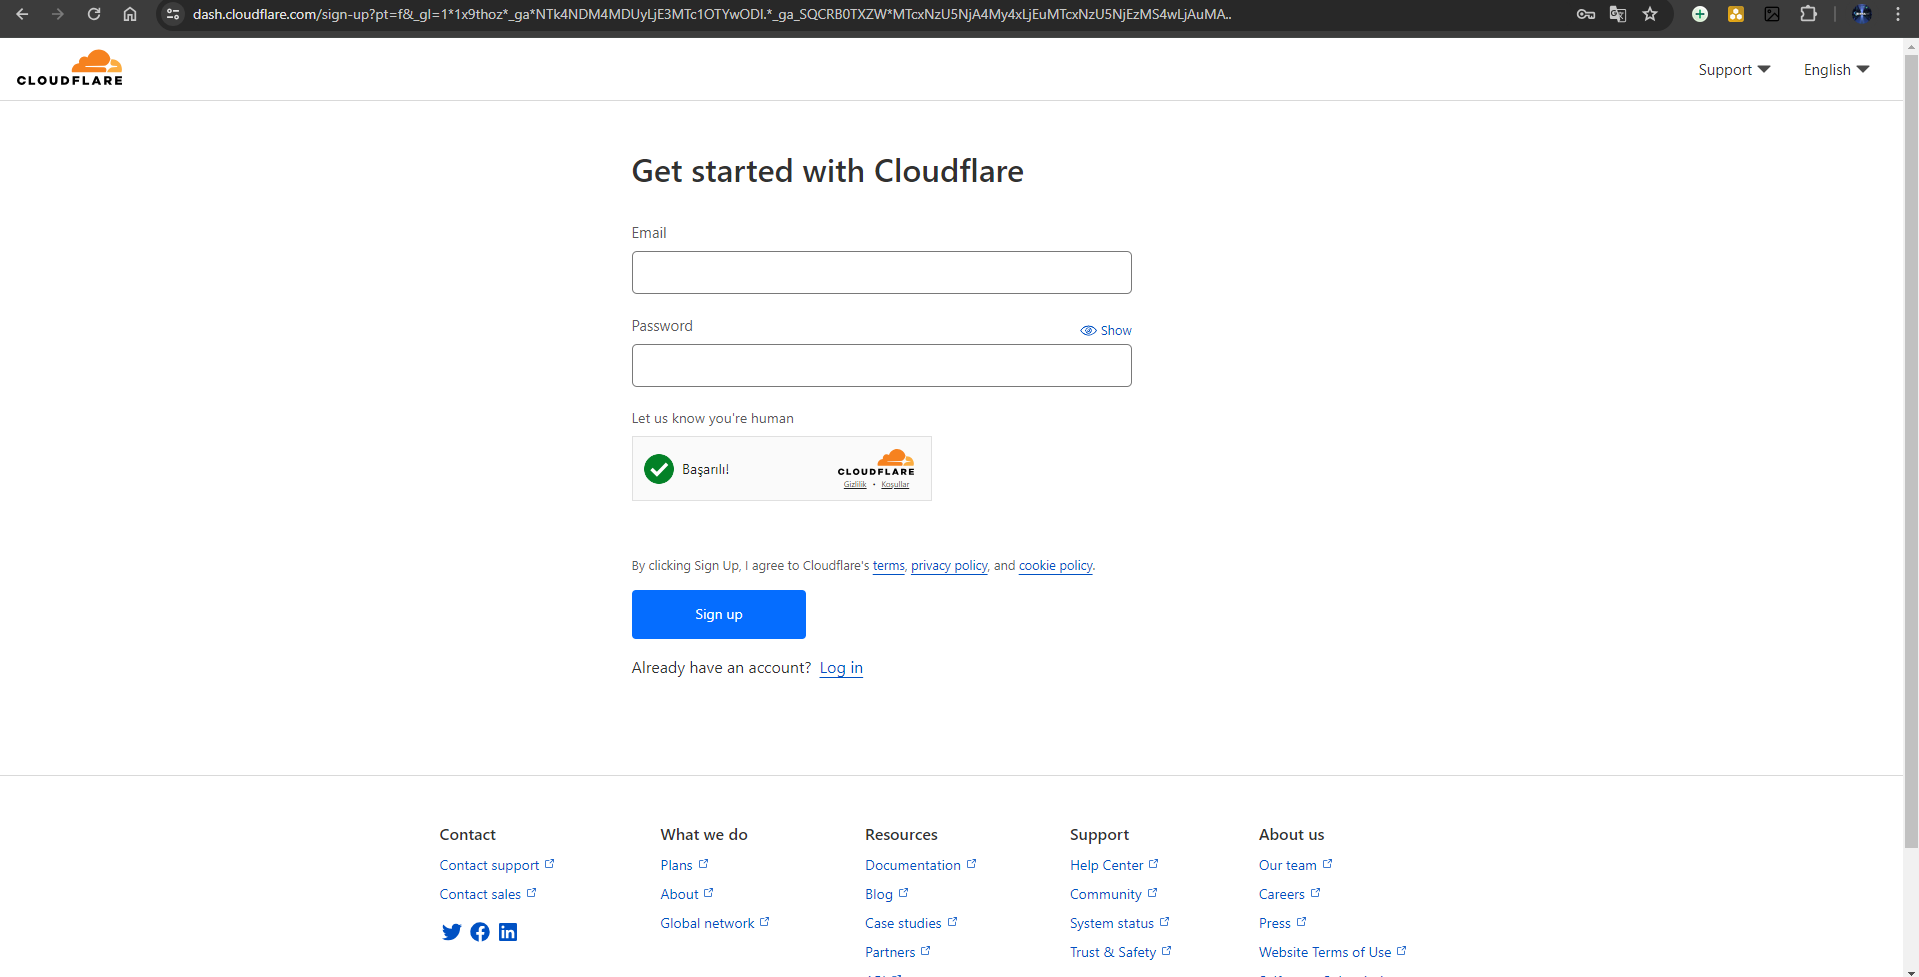
After entering these details, click on the "Create Account" button.
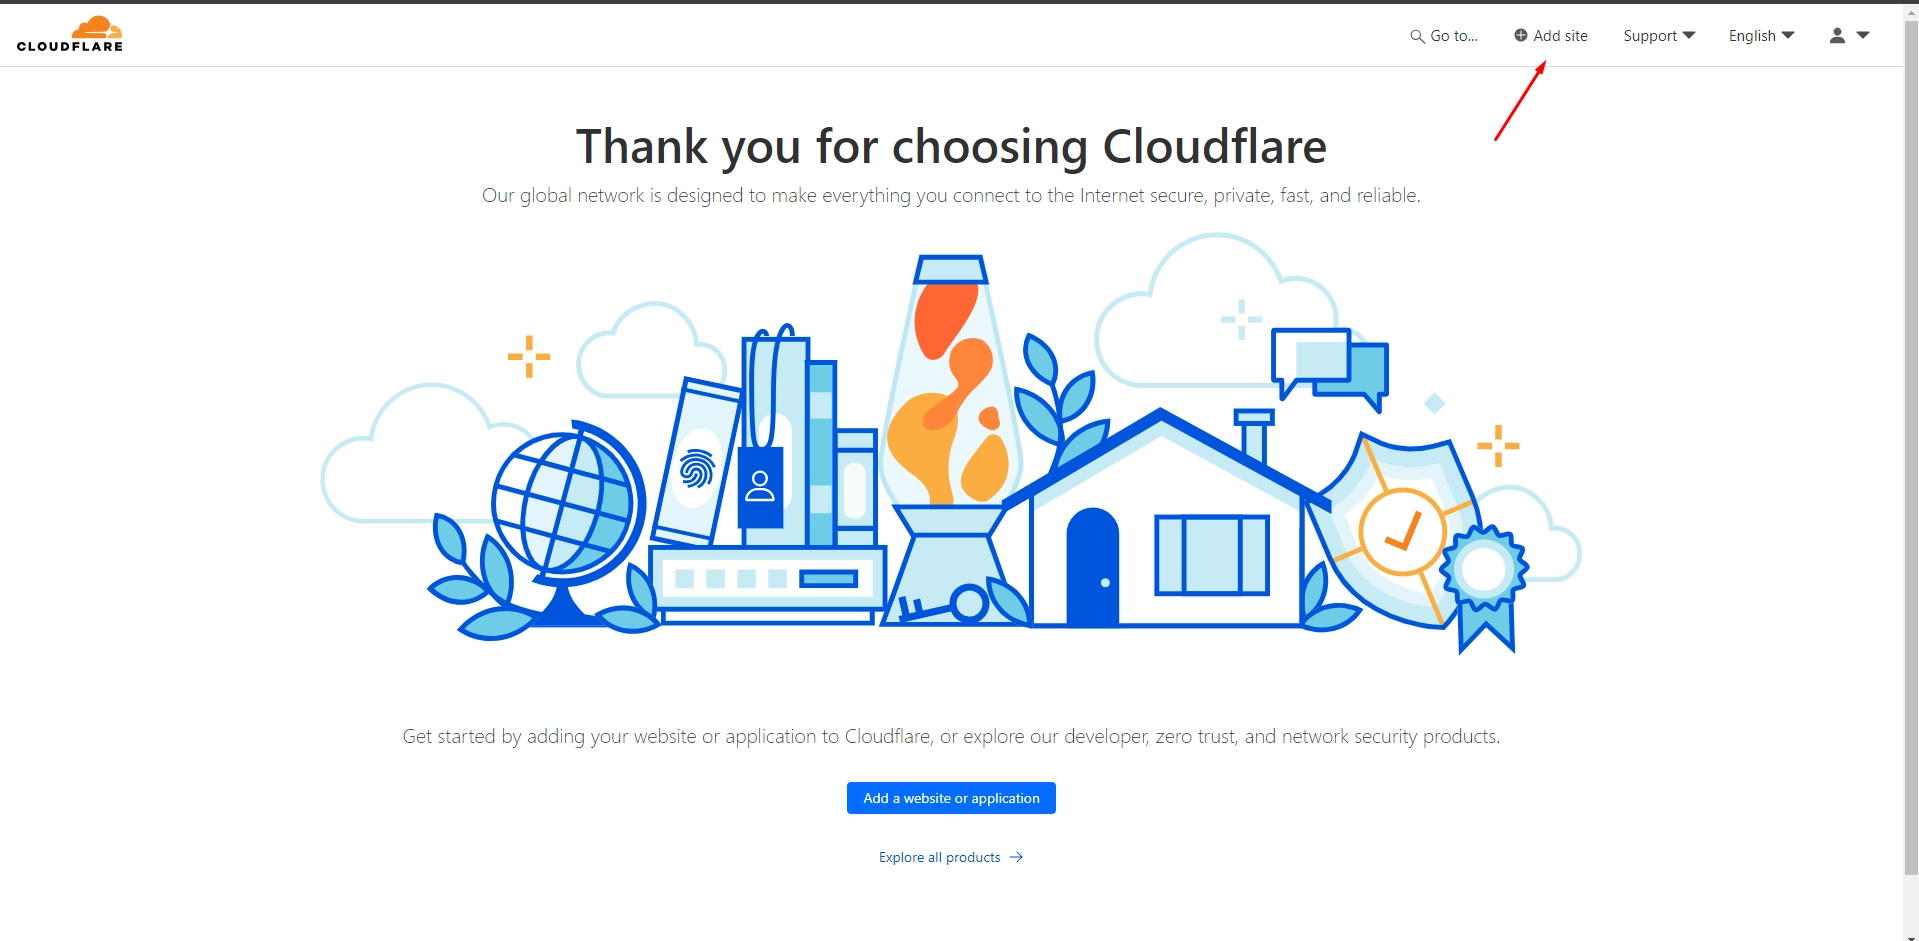
4. Add Your Site
Once your account is created, you will be directed to the "Add a Site" page. Enter the URL of the website you want to add to Cloudflare and click on the "Add Site" button.
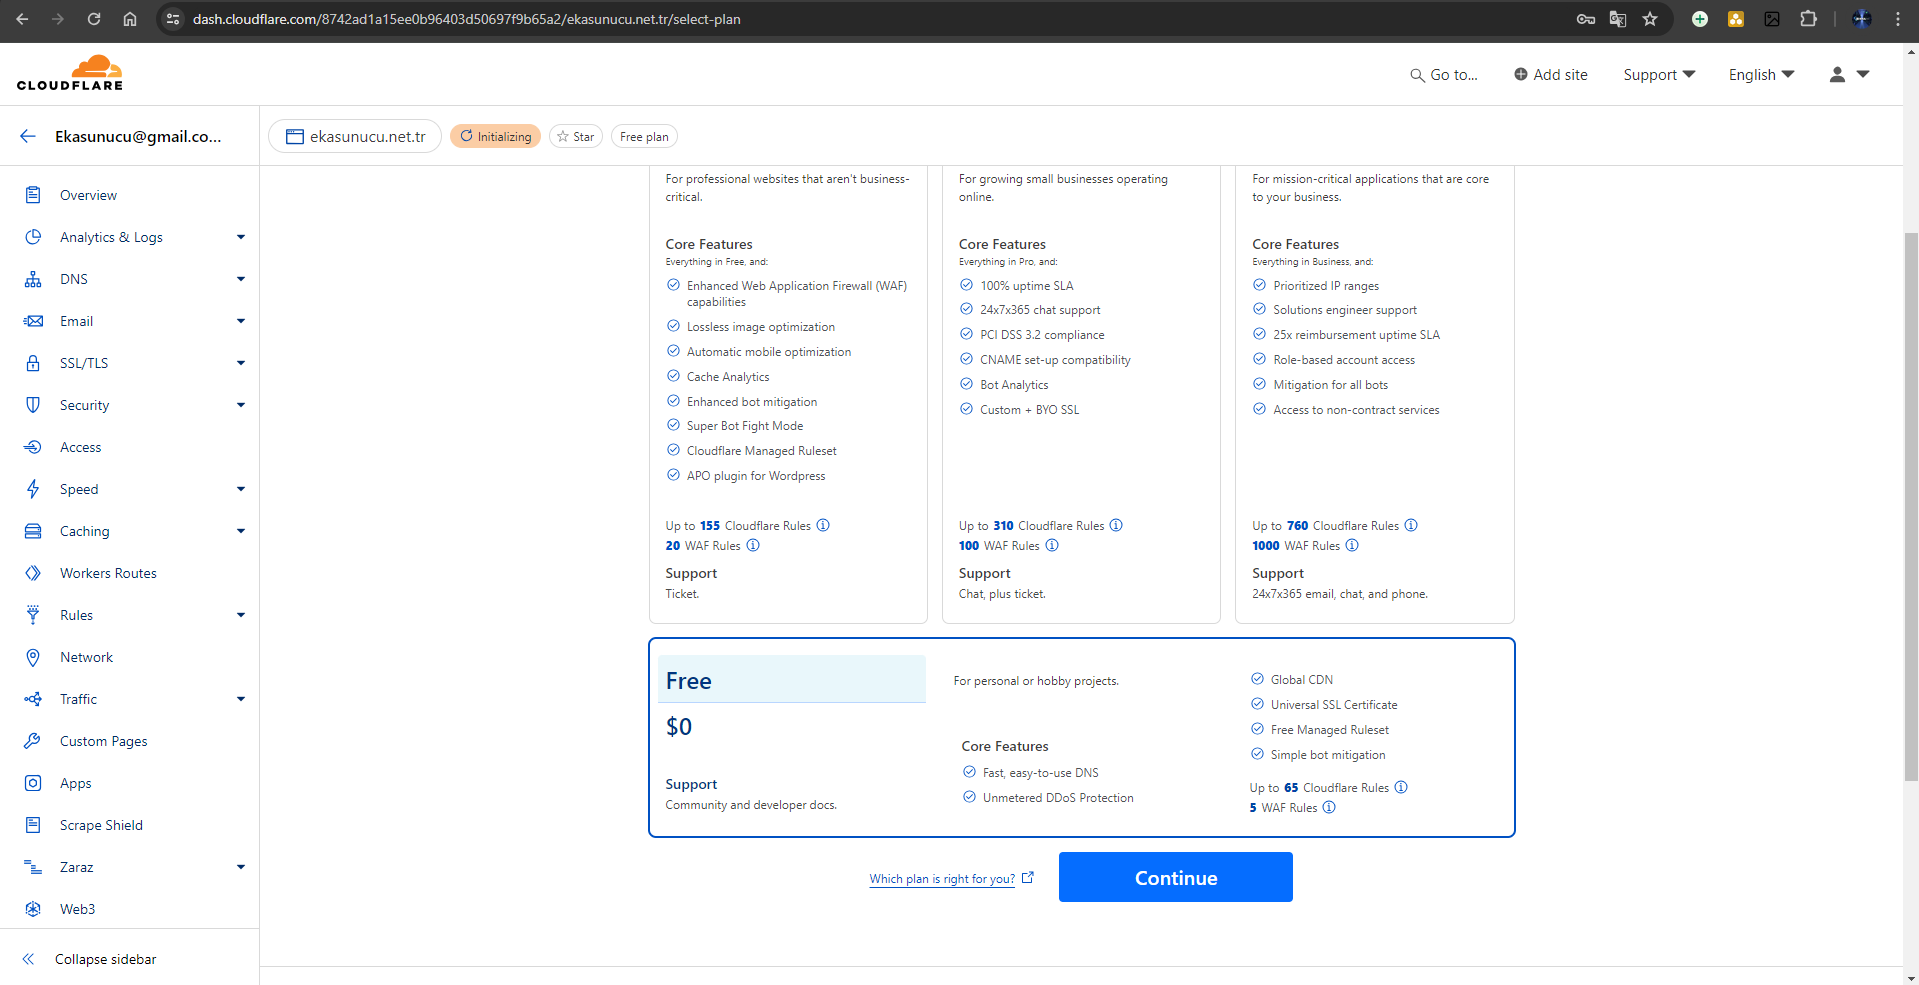
5. Choose a Plan
Cloudflare offers various plans: Free, Pro, Business, and Enterprise. You can start with the Free plan initially. Depending on your needs, you can upgrade to other plans later. Select the appropriate plan and click on the "Confirm Plan" button.
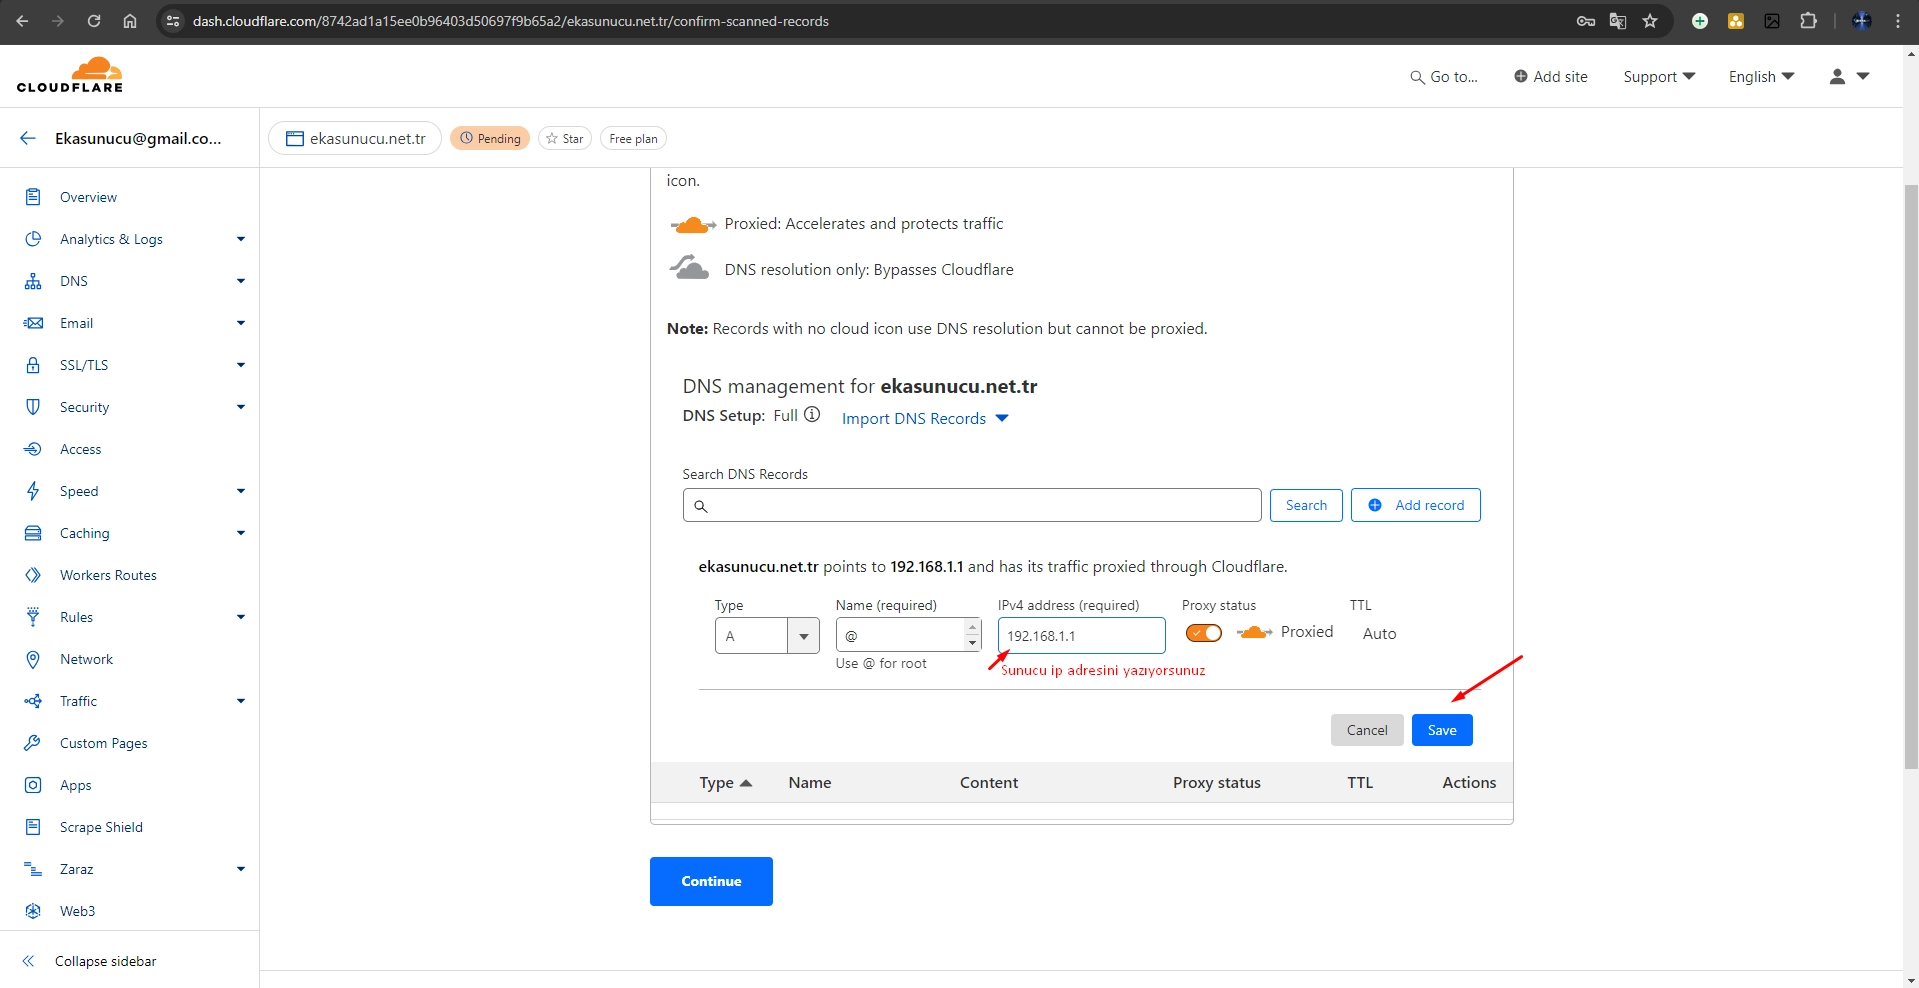
6. DNS Scanning
Cloudflare will automatically scan your website’s DNS records and display them to you. Review these records and make any necessary additions or corrections. If all records are correct, click on the "Continue" button.
7. Change Nameservers
Cloudflare will provide you with two nameservers. You need to update these nameservers at your domain registrar (e.g., GoDaddy, Namecheap). Go to your domain registrar’s management panel, and replace the existing nameservers with the ones provided by Cloudflare.
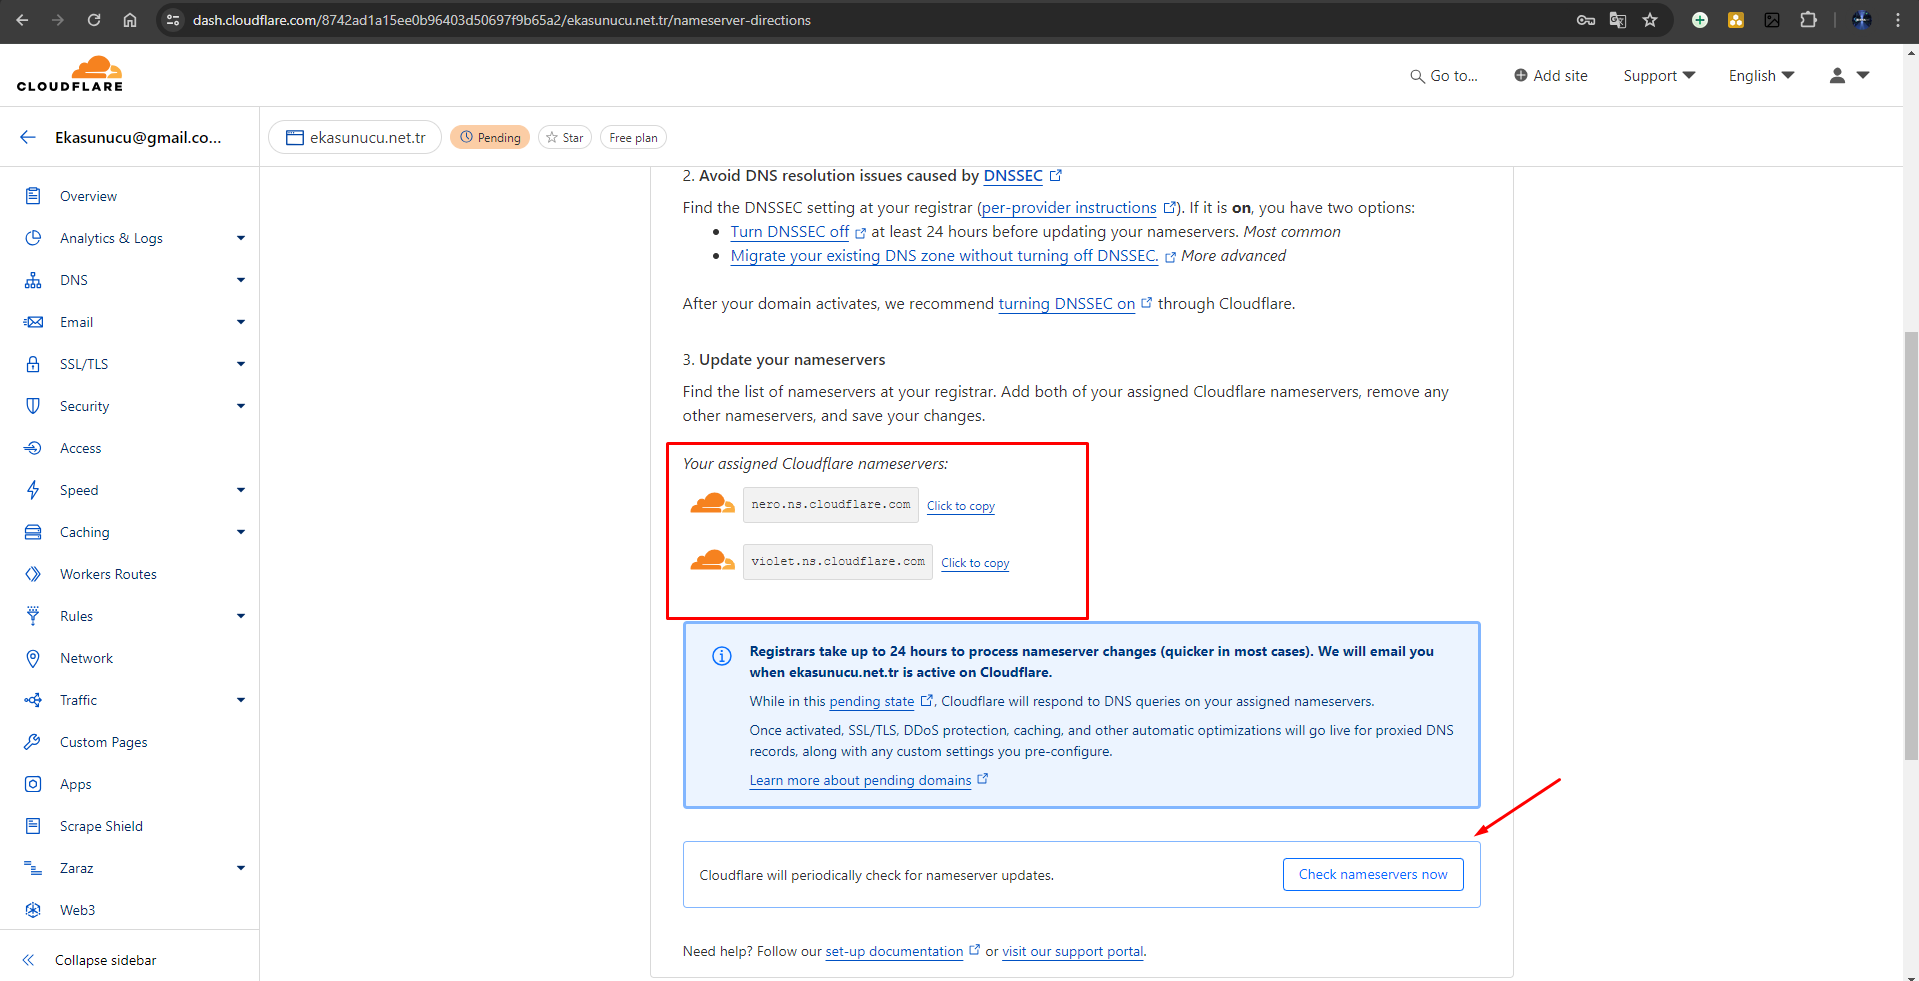
8. Complete Setup
After changing the nameservers, return to the Cloudflare control panel and click on the "Done, check nameservers" button. It may take a few hours for Cloudflare to verify the nameserver change.
9. Configure Settings
Your Cloudflare account and site are now active. Use the Cloudflare dashboard to configure security and performance settings. Some recommended settings include:
- SSL/TLS: Select "Full" or "Flexible".
- Caching: Configure cache settings according to your site’s needs.
- Firewall: Add and configure security rules.
Conclusion
Congratulations! You now have a Cloudflare account and a website protected by Cloudflare. By leveraging the various features offered by Cloudflare, you can enhance your site's performance and security. Don’t forget to optimize the settings according to your needs.