
 Halkali merkez neighborhood fatih st ozgur apt no 46 , Kucukcekmece , Istanbul , 34303 , TR
Eka Sunucu CDN usage Increase the speed of your website, improve its global accessibility and provide a better user experience with training.
CDN (Content Delivery Network); speed optimization, load balancing, security and global reach It is an indispensable technology for modern websites that provides advantages such as.
Reduces loading times by serving content from servers closer to users
Distributed network structure providing fast access from anywhere in the world
Protects against distributed denial of service attacks
Improves performance by distributing traffic across different servers
CDN (Content Delivery Network) is a technology that aims to present your website content to users from the closest location by distributing it to servers in different parts of the world. In this way, your content reaches users faster and the overall performance of your website increases.
A CDN works using a network of interconnected servers (PoP - Point of Presence). Here are the simplified steps of this process:
First, your website's static contents (images, CSS, JavaScript files, etc.) are copied to CDN servers around the world.
When a user visits your website, the browser first pulls the HTML content of the site from your host server.
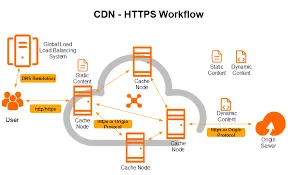
Requests for static content are directed to the CDN server closest to the user. This routing is done using DNS-based or Anycast IP.
The nearest CDN server sends the requested content to the user. If this content is previously cached, it is served quickly; if it is not in the cache, it is retrieved from the main server and delivered to the user and also saved in the cache.
Content is automatically refreshed after a certain period of time (TTL - Time To Live) or manually cleared when the content changes.
A modern CDN system typically consists of these components:
Content Delivery Networks (CDN) have become an indispensable part of modern websites. So why do so many websites and applications choose to use CDNs? Here are the main advantages of using CDN:
It significantly reduces page load times by serving content from servers closest to users.
It increases global accessibility by providing services with similar performance to users all over the world.
It increases the security of your site with DDoS protection, WAF (Web Application Firewall) and SSL/TLS certificates.
It provides better server performance by reducing the load on your main server by distributing traffic across multiple servers.
It reduces bandwidth costs and lowers total cost of ownership by reducing hardware requirements.
Increasing page loading speed helps you rise in search engine rankings.
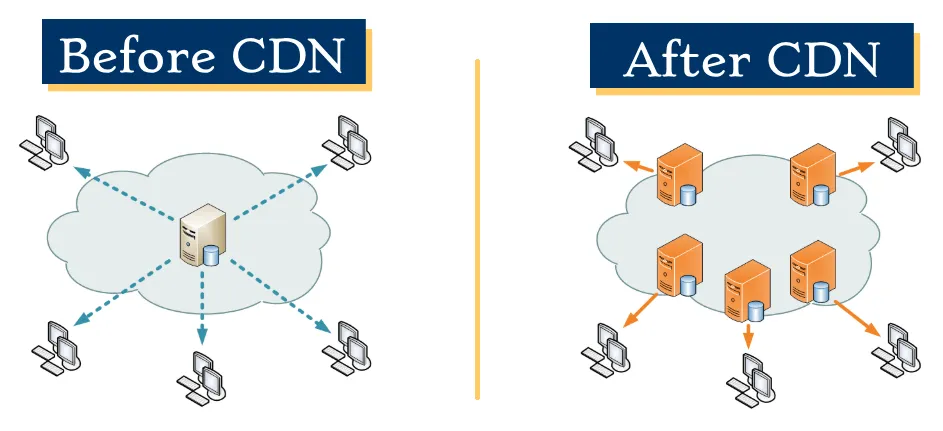
Website speed is one of the most critical elements of user experience. Using a CDN significantly increases your website loading speed in the following ways:
CDN distributes your content to servers around the world. Users receive content from the CDN server geographically closest to them, which significantly reduces data transfer time (latency).
Modern CDNs compress files using algorithms such as Gzip or Brotli, so less data is transferred, resulting in shorter page load times.
CDN caches frequently used content and serves it directly when requested again without going to the main server. This provides a very significant performance boost, especially for large files and high-traffic sites.
Many CDNs minimize CSS and JavaScript files, optimize images, and improve multi-request performance using modern protocols such as HTTP/2 .
Advanced CDN services ensure that critical content loads first by prioritizing resources, so users start seeing content before the entire page loads.
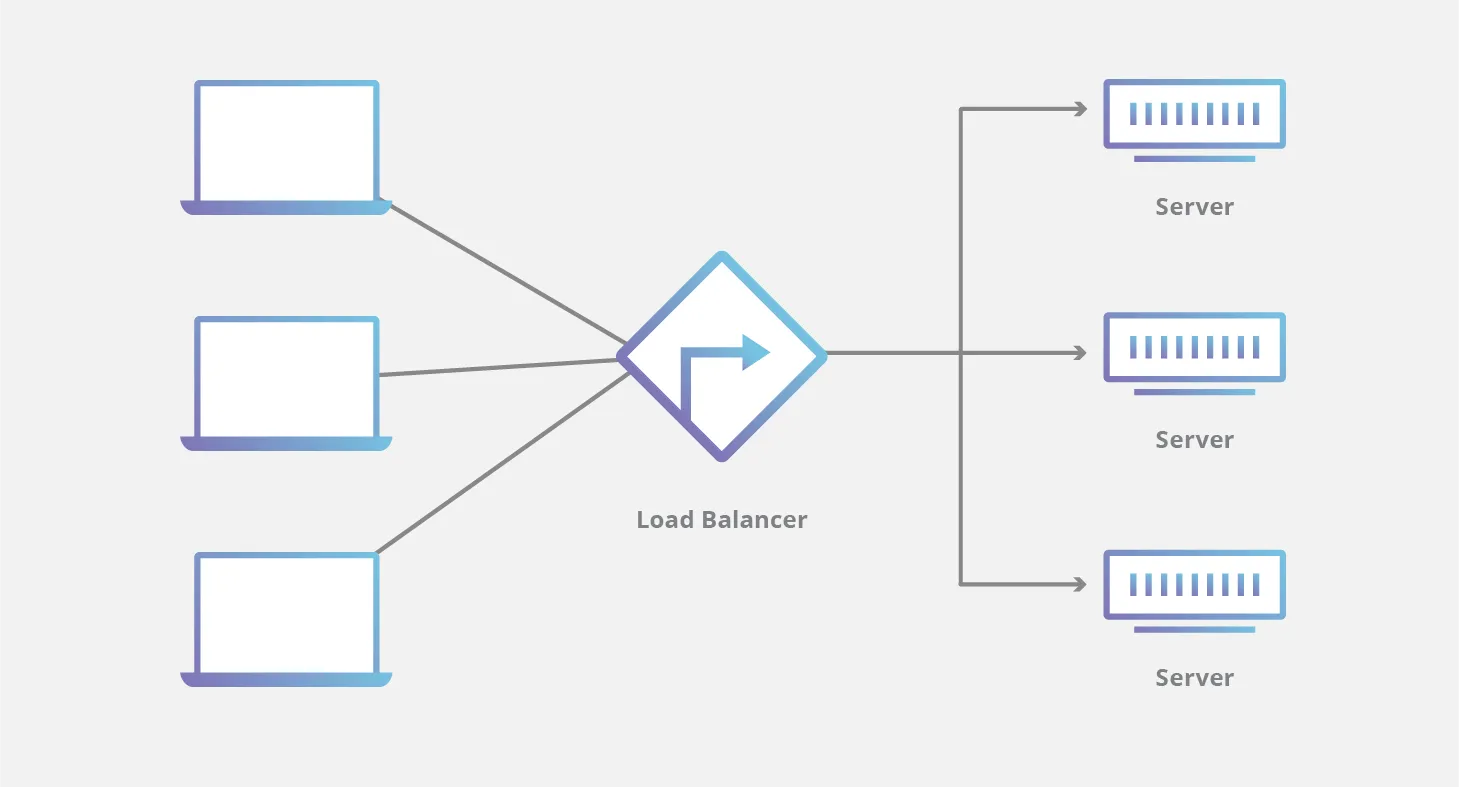
One of the most important advantages of using CDN is that it provides better server performance by reducing the load on your main server.
CDN provides load balancing in several different ways:
Modern CDNs offer not only content distribution but also comprehensive security solutions. You can protect your website against various threats by using CDN.
Thanks to its distributed server network and wide bandwidth capacity, CDN absorbs DDoS (Distributed Denial of Service) attacks and ensures that your site remains accessible. CDN providers can distinguish malicious traffic from genuine users with traffic analysis tools and anomaly detection.
Many CDNs offer integrated WAF solutions that protect your website against common web application vulnerabilities such as SQL injection, XSS (Cross-Site Scripting), and CSRF (Cross-Site Request Forgery). These firewalls monitor and block known security threats such as OWASP Top 10 .
Advanced CDNs can identify and block content scrapers, spam bots, and other automated threats. This protects your site's resources, reduces form spam, and prevents data theft. Some CDNs can distinguish “good” bots (e.g. search engine crawlers) from bad ones.
CDN providers often offer free SSL/TLS certificates and easy setup. This ensures data security by encrypting communication between your users and your website. Additionally, many CDNs support the latest TLS protocols and secure cipher suites.
CDNs have features such as blocking traffic from certain geographic areas (geo-blocking), filtering certain user agents, or applying special security policies. This allows you to customize your site's security level and take precautions against specific threats.
Integrating a CDN service into your website may vary depending on your technical knowledge and the CDN provider you use. But the basic installation steps are generally similar. Below you can find detailed installation guides for popular CDN providers.
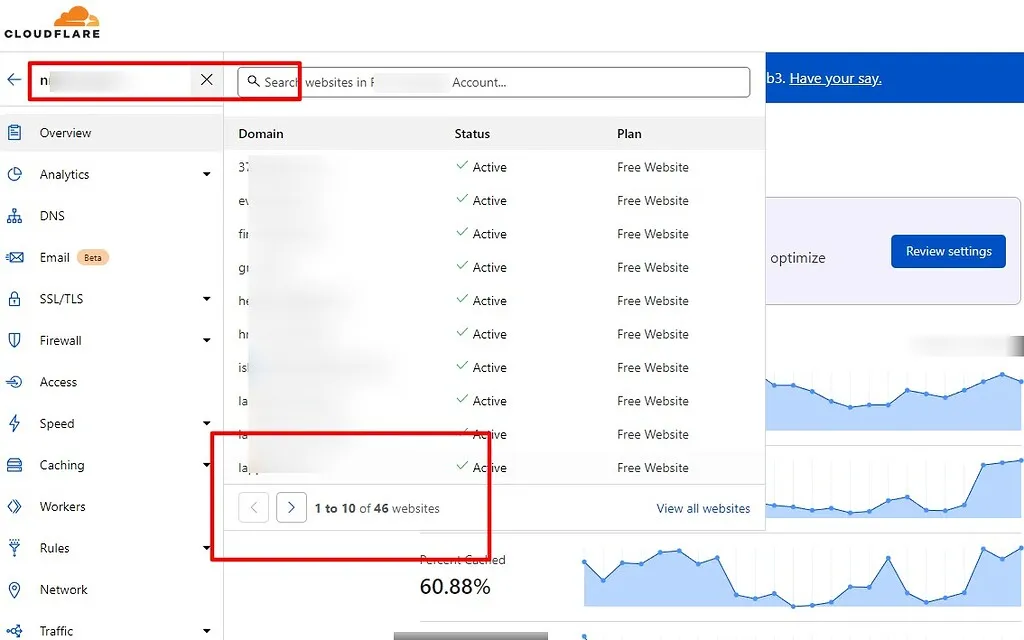
Cloudflare is a popular CDN solution for website owners with its free plan and user-friendly interface. You can follow the steps below to integrate it into your website:
From the Cloudflare registration page create an account. Enter your e-mail address and a password of your choice. You may need to verify your email after signing up.
In the Cloudflare control panel, "+ Add a Site" Click the (Add Site) button and enter your domain name (eg: example.com). Cloudflare will automatically scan your domain's DNS records.
Choose from the plan options available to you. For starters Free Plan (Free Plan) will be sufficient. This plan includes basic CDN, DNS and security features.
Cloudflare will show your site's current DNS records. At this stage, you can delete unnecessary records or add new records. Especially make sure the MX records (for email) are correct.
Cloudflare will provide you with the nameserver information that you need to change in your domain registrar. These nameservers usually look like this:
Log in to your domain provider's control panel and replace existing nameservers with nameservers provided by Cloudflare.
After the nameserver change is made, click Cloudflare's "Continuing to Cloudflare" button. It may take 24-48 hours for changes to propagate throughout the internet, but they are usually completed within a few hours.
In your Cloudflare control panel "SSL/TLS" Go to the tab and select SSL/TLS encryption mode. For starters "Flexible" You can select (Flexible) mode. This mode provides HTTPS connection between Cloudflare and visitors, but uses HTTP between Cloudflare and your server.
For added security, after installing an SSL certificate on your server "Full" (Full) or "Full (Strict)" You can use (Full-Tight) mode.
"Speed" In the (Speed) tab, you can enable various performance optimizations:
BunnyCDN is a popular CDN solution, especially for medium-sized websites, with its affordable price, user-friendly interface and high performance. It works on a pay-as-you-go model and you only pay for the bandwidth you use.
From BunnyCDN website create an account. You can start with minimal 10$, reloading as this amount is depleted.
In the BunnyCDN control panel, "Pull Zones" Go to the tab and "Add Pull Zone" Click the (Add Tow Zone) button. Fill in the following information:
You can leave other settings at their default values or customize them to suit your needs.
Click on the Pull Zone you created and "SSL" Go to the tab. "Let's Encrypt" select and "Add Certificate" Click the (Add Certificate) button. This will automatically create an SSL certificate for the CDN.
By default, BunnyCDN provides you with a domain name in the format [pullzone-name].b-cdn.net. If you wish, you can use your own subdomain (ex: cdn.example.com):
You will then need to create a CNAME record with your DNS provider for the subdomain you added. Direct this listing to [pullzone-name].b-cdn.net.
To integrate BunnyCDN with your website, you need to change all your static content URLs to CDN URLs. For example:
You must make this change for all static content of the following types:
Pull Zone'unuzun "Configuration" In the (Configuration) tab you can adjust various cache settings:
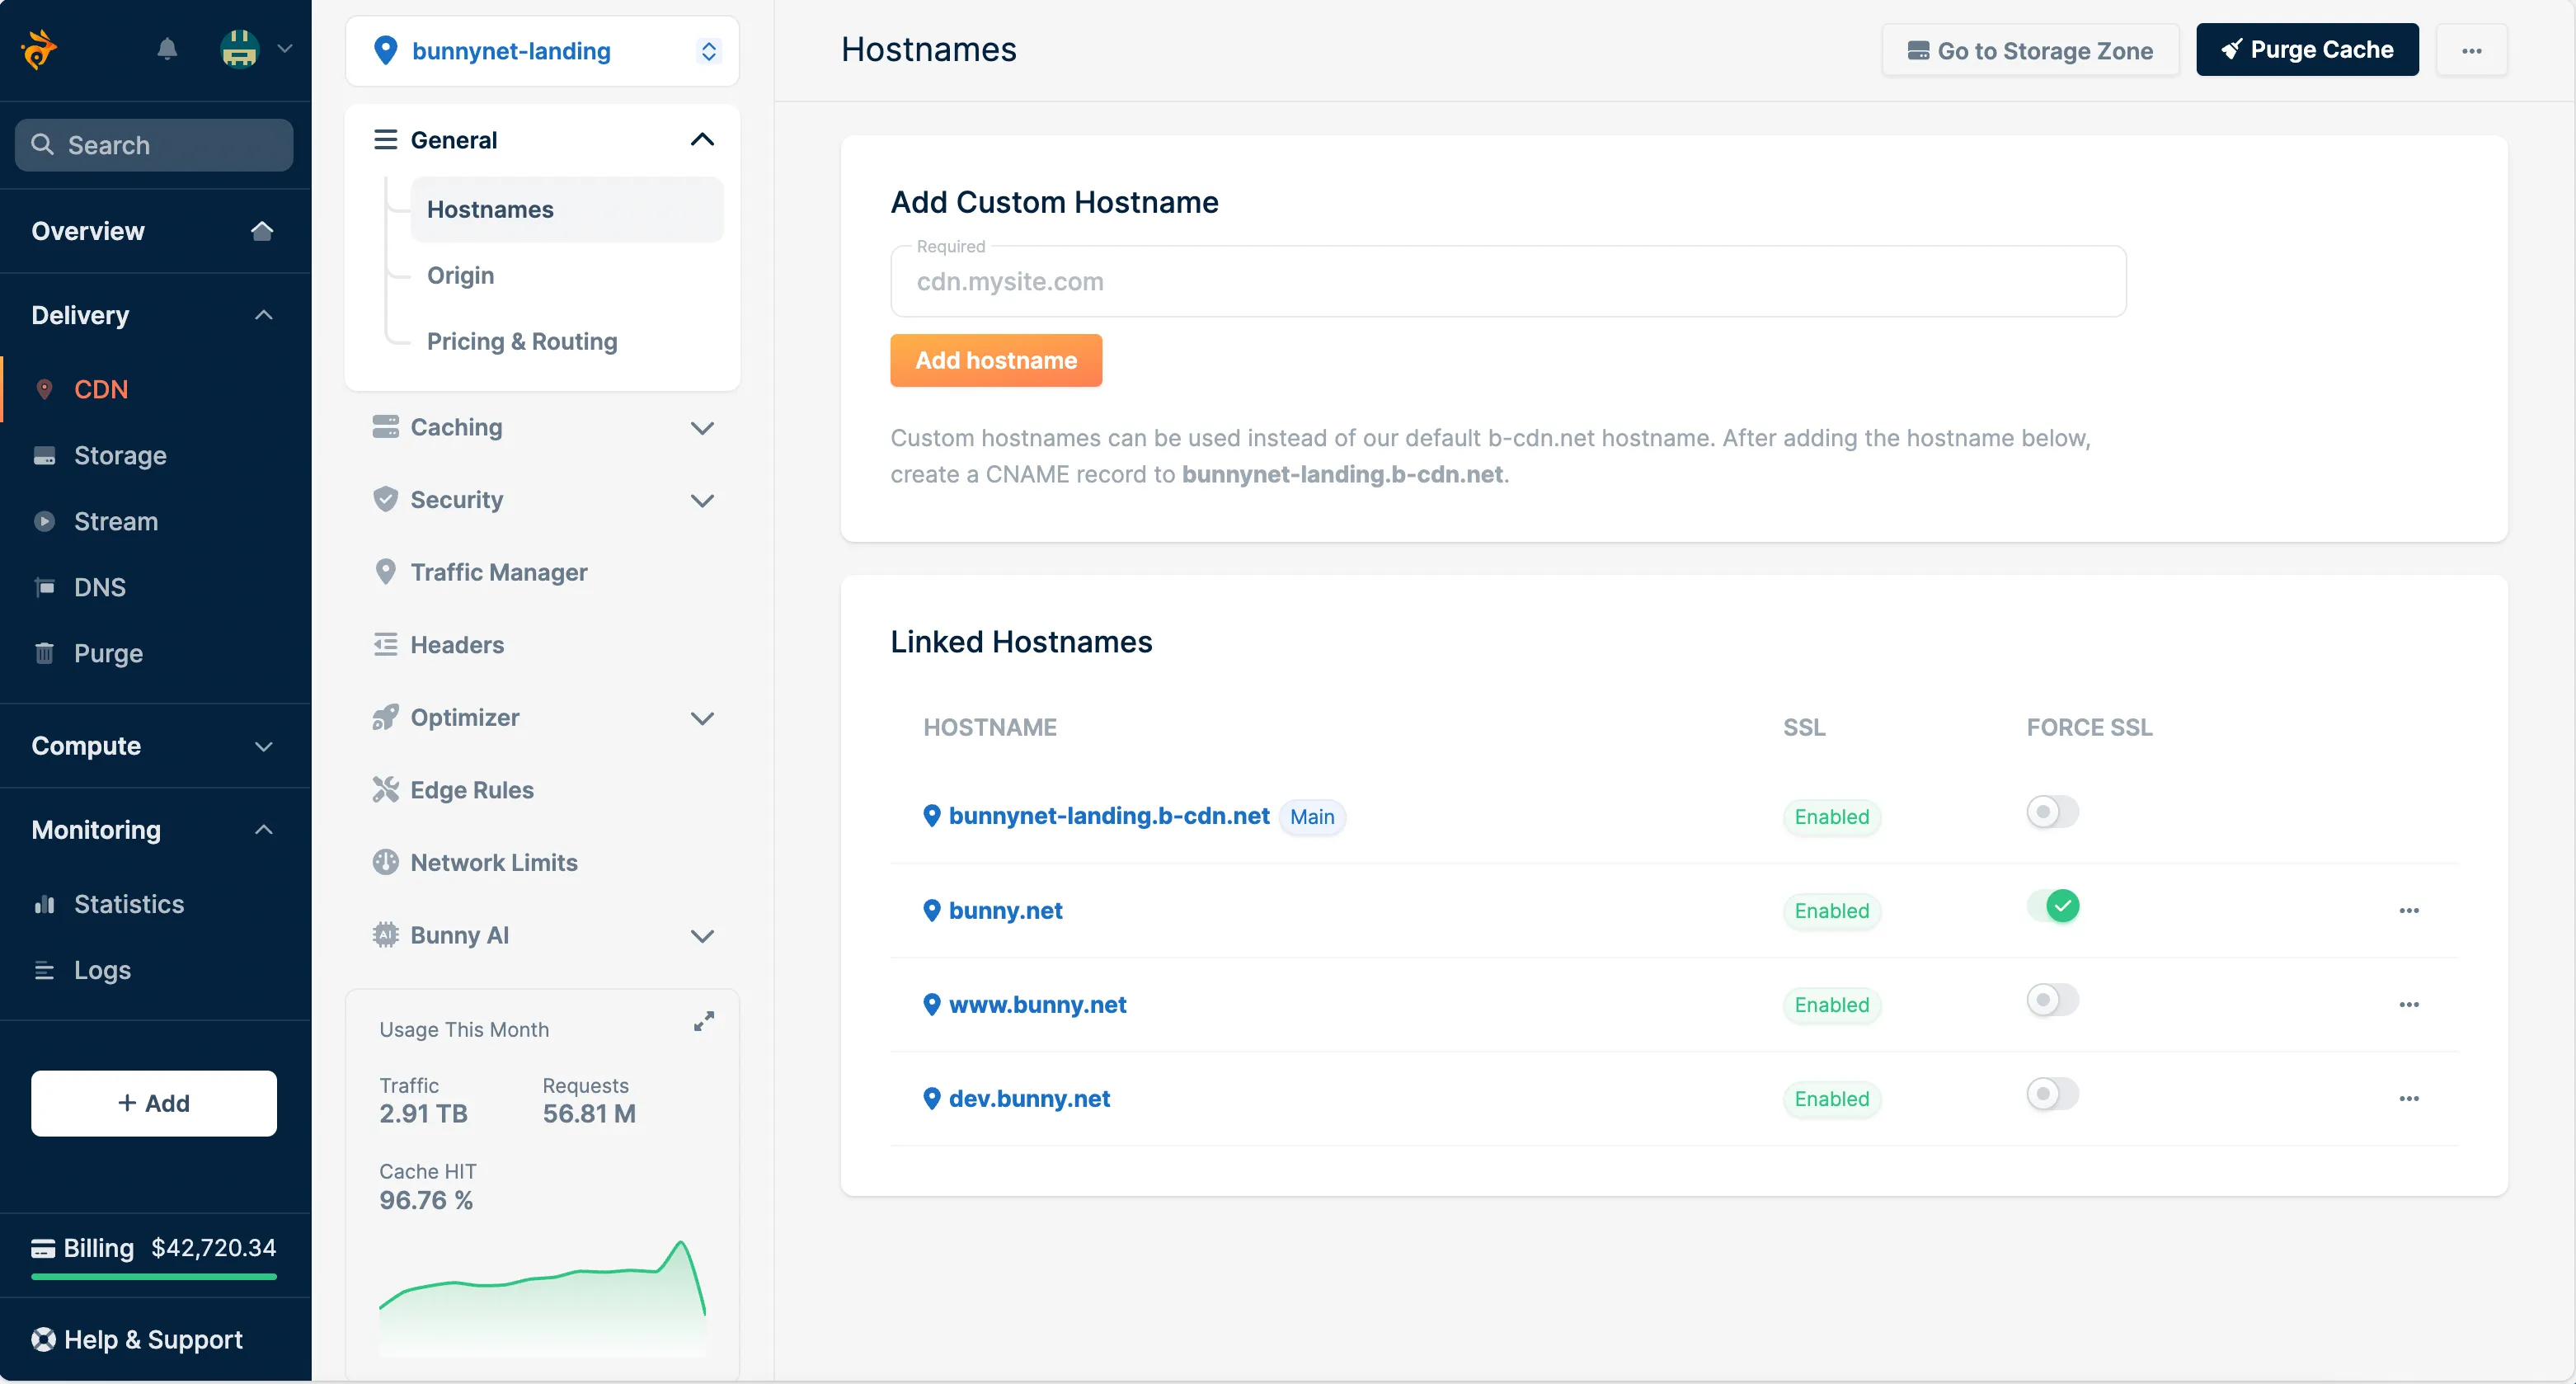
BunnyCDN operates on a pay-as-you-go model. Basic pricing:
* Prices may vary, visit the official website for current prices.
Amazon CloudFront is a powerful CDN service offered by AWS (Amazon Web Services). It is an ideal option especially for projects using AWS infrastructure and provides seamless integration with other AWS services such as S3, EC2, Elastic Load Balancing.
If you don't have an AWS account yet, From AWS website create an account. For new accounts, you can benefit from 12 monthly free tier (Free Tier).
In the AWS Management Console, navigate to the CloudFront service and click the "Create Distribution" button. Select "Web" as the deployment type.
You can use one of the following options for Origin Domain Name:
Configure other settings according to your needs:
In this section you can configure cache behavior:
Configure global deployment settings in this step:
Click the "Create Distribution" button. It may take up to 15-30 minutes for your CloudFront deployment to be deployed to all edge locations. It will be ready to use when the deployment status is "Deployed".
Once your CloudFront deployment is complete, you will be assigned a domain name (ex: d1234abcd.cloudfront.net). Change the URLs in your HTML/CSS files to serve your static content with this domain:


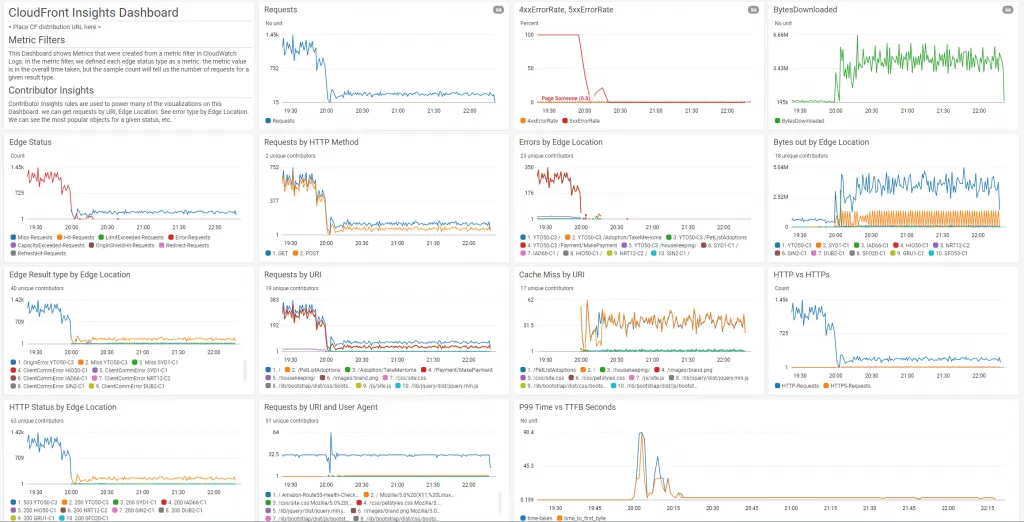
AWS CloudFront operates on a pay-as-you-go model:
* Monthly 50 GB data transfer and 2,000,000 HTTP/HTTPS requests are free under AWS Free Tier.
Using CDN on your WordPress sites has become very easy thanks to plugins. Here are the methods you can follow for CDN integration in WordPress:
Popular CDN plugins for WordPress:
CDN installation with W3 Total Cache, the most popular option:
CDN integration with WP Rocket, a premium solution:
Integration with Cloudflare's official WordPress plugin:

Configuration and optimization are crucial to get the best performance from your CDN. Here are the best practices you can follow to improve your CDN performance:
You can use different tools and methods to test the performance of your CDN. Here are the steps you can follow to test your CDN performance:
You can use the following tools to test your CDN performance globally:
You can use the following tools to test the network performance of your CDN:
You can test your CDN performance using your browser's developer tools:
You can use the following steps and metrics to test CDN performance:
Using a CDN generally increases your site security. Modern CDN services offer these security features:
CDN costs generally depend on these factors:
Some providers offer free plans (e.g. Cloudflare), while others operate a pay-as-you-go model (e.g. BunnyCDN, AWS CloudFront).
When configured correctly, there will be no site downtime during migration to CDN. However, the following points should be noted:
The following types of static content are typically served via CDN:
Custom CDN solutions may be required for dynamic content (e.g. API responses).
There are several methods to clear the CDN cache:
Cache clearing is necessary for changes to be released immediately, but frequent use can negatively impact performance.
Using a CDN often positively affects SEO:
 Turkey (Turkish)
 Germany (German)
 Worldwide (English)

